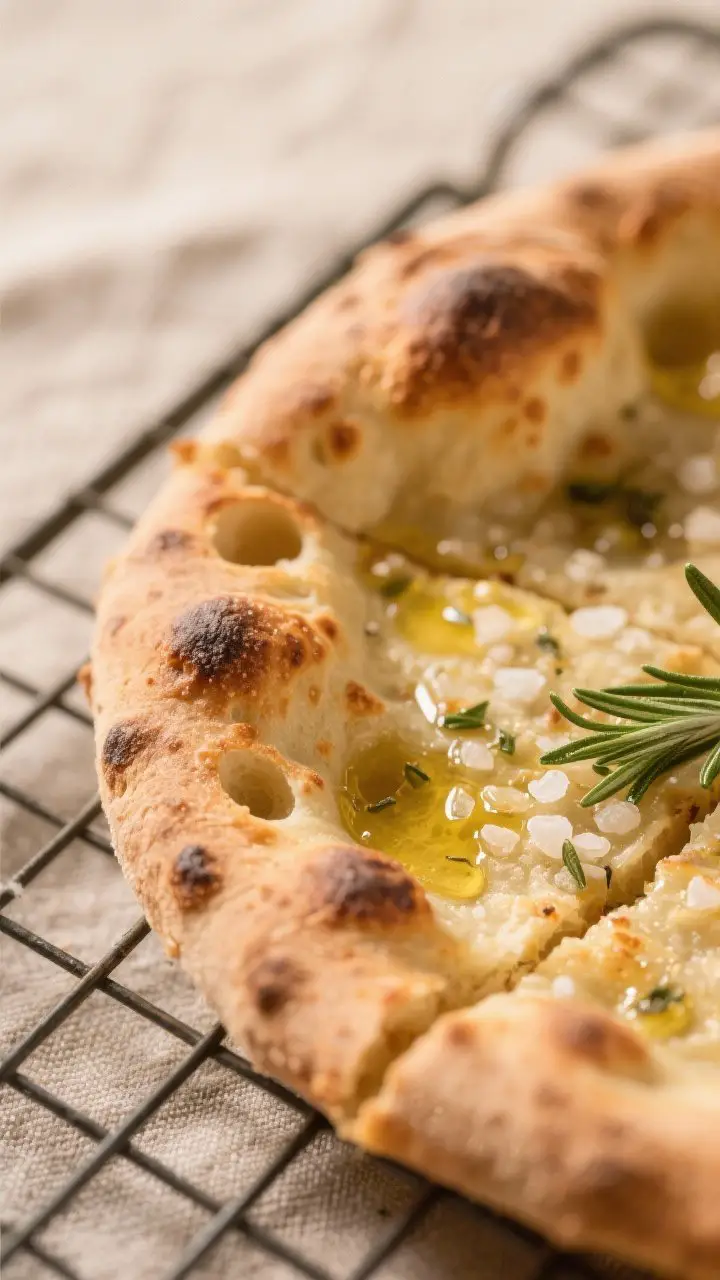
Crispy Roman-Style Pizza Bianca – Light, Airy, and Perfectly Salty
Roman-style pizza bianca is the kind of bread you tear into before you even sit down. It’s golden, crisp on the edges, and full of tiny air pockets inside. There’s no sauce, no cheese—just olive oil, salt, and sometimes a sprinkle of herbs.
It’s simple in ingredients but big on texture and flavor. You can eat it plain, split it open for a sandwich, or serve it with a spread of meats and olives.
Why This Recipe Works
This version leans into a high-hydration dough to build those classic air pockets and an airy crumb. The long, cold fermentation (overnight in the fridge) develops deep flavor and makes the dough easier to handle.
A generous olive oil drizzle helps create crisp edges and a tender interior. Baking on a preheated steel or stone gives the underside a beautiful, blistered crust. The result is light, crunchy, and fragrant with olive oil and sea salt.
Shopping List
- Bread flour (or strong white flour) – 500 g (about 4 cups)
- Warm water – 400 g (about 1 2/3 cups)
- Instant or active dry yeast – 5 g (about 1 1/2 tsp)
- Fine sea salt – 12 g (about 2 tsp)
- Extra-virgin olive oil – 3–4 tbsp, plus more for the pan
- Flaky sea salt (for topping)
- Optional: Fresh rosemary, thyme, or dried oregano
- Optional: Semolina or cornmeal for dusting
How to Make It
- Mix the dough: In a large bowl, whisk the flour and salt.
In a separate cup, mix warm water with yeast. Pour the liquid into the flour and stir with a spoon until no dry spots remain. The dough will be sticky—this is good.
- Rest and fold: Let the dough rest for 20 minutes.
With wet hands, perform 3–4 sets of stretch-and-folds every 10 minutes: lift one side of the dough, fold it over itself, turn the bowl, and repeat. This builds strength without kneading.
- First rise: Lightly oil the bowl, cover, and let the dough rise at room temperature until puffed, about 60–90 minutes.
- Cold fermentation: Transfer the covered bowl to the fridge for at least 12 hours and up to 48. This step develops flavor and improves the open crumb.
- Preheat the oven: Place a baking steel or stone on the middle rack.
Preheat to 500–525°F (260–275°C) for at least 45 minutes. If you don’t have a stone, use an inverted sheet pan preheated in the oven.
- Prepare the pan: Generously oil a rimmed baking sheet (about 13×18 inches) or two smaller pans. You want a glossy layer of oil—this helps crisp the bottom.
Dust lightly with semolina if you like.
- Shape gently: Turn the cold dough onto a well-oiled surface. Using oiled hands, coax it into a rectangle by pressing from the center outward. Avoid popping air bubbles.
If it resists, let it relax for 5 minutes and try again.
- Pan it: Transfer the dough to the prepared pan. Gently press to the corners with your fingertips. Don’t force it—if it springs back, rest another 5–10 minutes and continue.
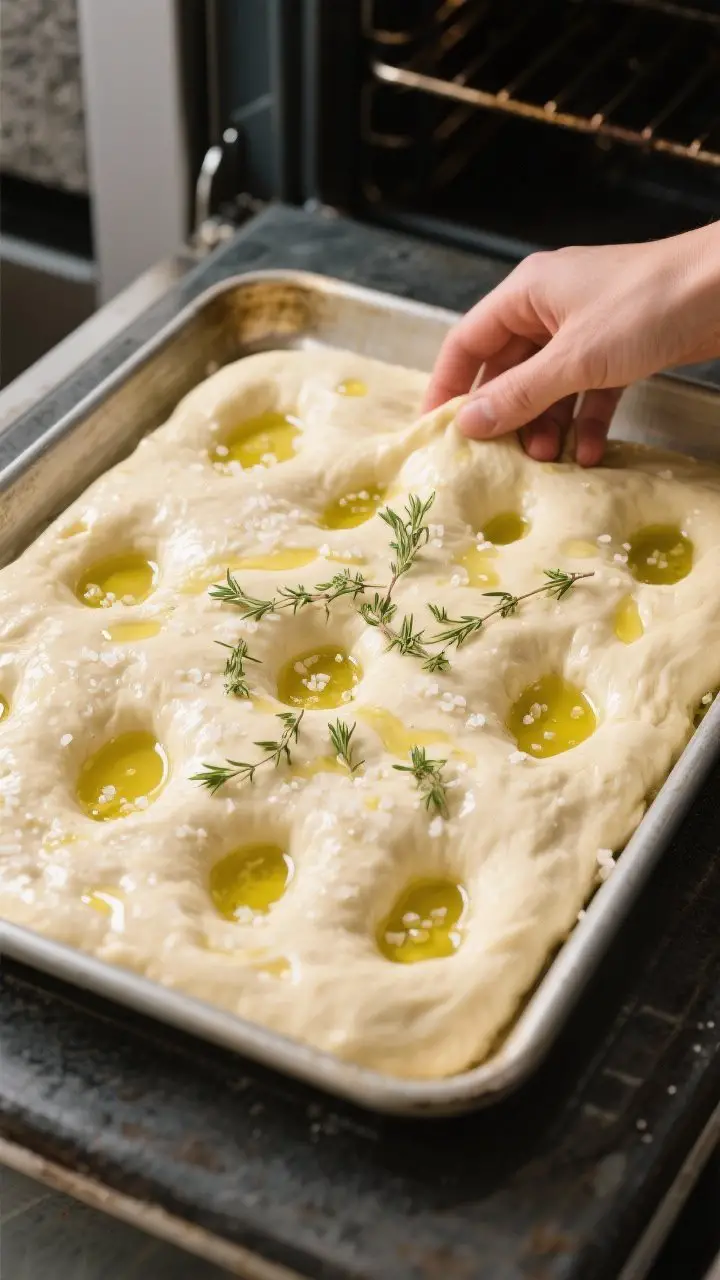
- Top it: Drizzle generously with olive oil.
Dimple the surface with your fingertips to create little wells. Sprinkle with flaky sea salt and herbs if using.
- Bake: Slide the pan onto the hot steel or stone. Bake 14–18 minutes until deep golden with crisp edges and a rich aroma.
Rotate once if your oven browns unevenly.
- Finish: Brush or drizzle a little more olive oil while hot. Let cool 5–10 minutes on a rack before cutting. Serve warm or at room temperature.
Keeping It Fresh
Pizza bianca is best the day it’s baked, when the crust is crisp.
If you have leftovers, store them in a paper bag inside a loose plastic bag at room temperature for up to 2 days. To bring back the crunch, reheat on a hot sheet pan at 450°F for 5–7 minutes. For longer storage, wrap tightly and freeze for up to a month.
Reheat from frozen on a preheated sheet or stone until crisp and hot.
Why This is Good for You
This is a simple, honest bread made with just a handful of ingredients. Olive oil brings heart-healthy fats and deep flavor without weighing the bread down. The slow fermentation can make the dough easier to digest and enhances nutrients’ bioavailability. You control the salt and toppings, so it can fit into a balanced meal—especially when paired with vegetables, lean proteins, or a fresh salad.
Pitfalls to Watch Out For
- Too much flour on shaping: Excess flour can toughen the crust and block those pretty blisters.
Oil your hands and surface instead.
- Under-proofed dough: If the dough hasn’t puffed in the fridge, it may bake dense. Give it more time at room temperature before shaping.
- Cool oven or pan: A lukewarm oven won’t crisp the bottom. Preheat the steel/stone thoroughly.
- Overworking the dough: Aggressive stretching pops air pockets.
Be gentle and let the dough rest if it fights you.
- Skimping on oil: Oil is key for texture and flavor. A thin coat in the pan and on top makes a big difference.
Recipe Variations
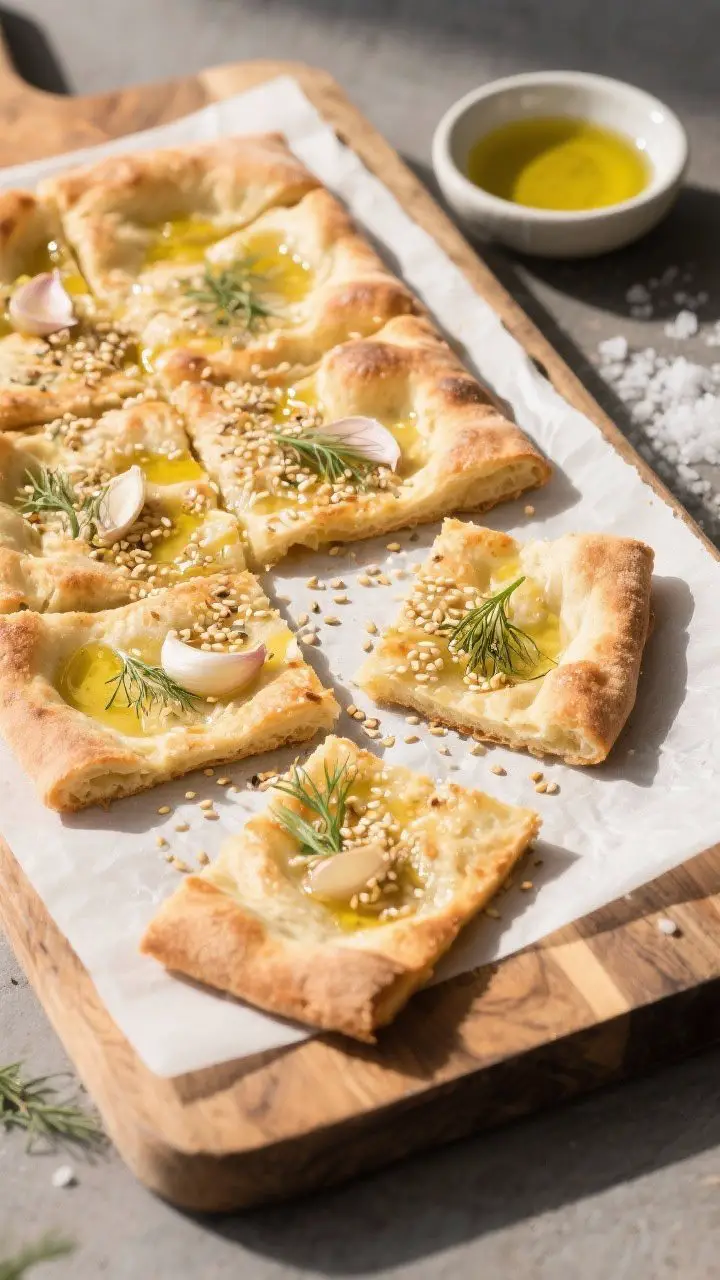
- Rosemary and Sea Salt: Classic and fragrant. Add a light shower of chopped rosemary before baking.
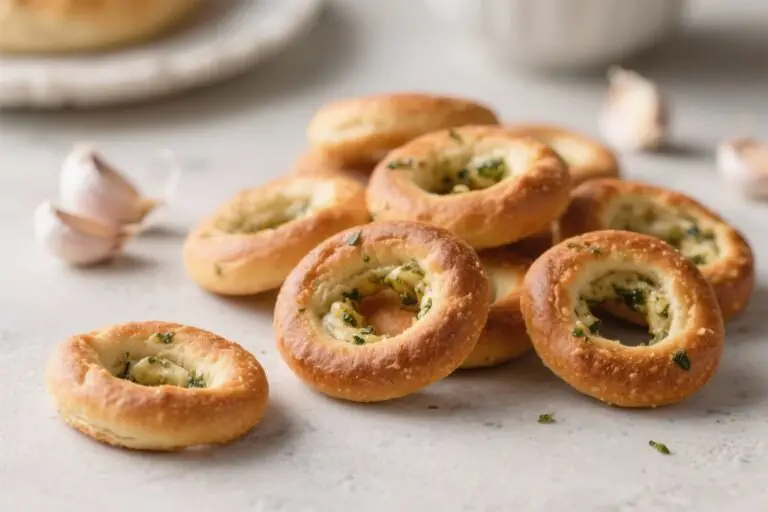
- Garlic Oil: Warm olive oil with smashed garlic, then strain and drizzle over the dough for a mellow garlic note.
- Sesame and Fennel: Sprinkle toasted sesame seeds and a pinch of crushed fennel for a nutty, aromatic finish.
- Black Olive: Press sliced black olives into the dough after dimpling.
Add a touch less salt on top.
- Whole Wheat Boost: Swap 15–20% of the flour for whole wheat. Add a splash more water if the dough tightens up.
- Stuffed Sandwich: Split horizontally and fill with mortadella, arugula, and a squeeze of lemon. Simple and perfect.
FAQ
Can I make this without a baking stone or steel?
Yes.
Use a well-oiled rimmed sheet pan and preheat the oven thoroughly. For extra bottom heat, preheat an inverted sheet pan and set your pizza pan directly on it.
What if my dough is too sticky to handle?
Sticky dough is normal with high hydration. Oil your hands and the work surface, and use a bench scraper.
If it tears or resists, let it rest 5–10 minutes and try again.
Can I skip the overnight rise?
You can, but you’ll lose flavor and open crumb. If you’re in a rush, give it at least 3 hours at room temperature and expect a tighter texture.
Is all-purpose flour okay?
Yes. All-purpose works, though bread flour gives better chew and structure.
If using all-purpose, go gentle with shaping and consider reducing water by a tablespoon or two if the dough feels too loose.
How do I know it’s done?
Look for a deep golden color, crisp edges, and a firm bottom. If the center feels soft or pale, bake a few more minutes. The underside should sound hollow when tapped.
Can I add cheese?
Traditional pizza bianca is sauce- and cheese-free, but a light sprinkle of grated pecorino or Parmesan right after baking is delicious.
Keep it minimal to preserve the crisp texture.
What temperature should the water be?
Aim for lukewarm, about 95–105°F (35–40°C). Too hot can hurt the yeast; too cold slows fermentation.
How do I get bigger air pockets?
Use high hydration, avoid kneading too aggressively, give it a long cold rise, and handle the dough gently during shaping. A hot stone or steel helps the oven spring.
Final Thoughts
Crispy Roman-style pizza bianca proves that simple ingredients can deliver huge flavor and texture.
With a little patience and plenty of olive oil, you’ll get a sheet of bread that’s crisp, light, and wildly versatile. Serve it warm with good olives, slice it for sandwiches, or snack on it as-is. It’s the kind of recipe you’ll keep in your back pocket, ready to bake for any meal or gathering.