How to Make Authentic Italian Pizza Crust (Neapolitan-Style)
So, you want to make real Italian pizza crust — not that store-bought “just add water” stuff that tastes like a cracker having an identity crisis. Good. You’re aiming higher.
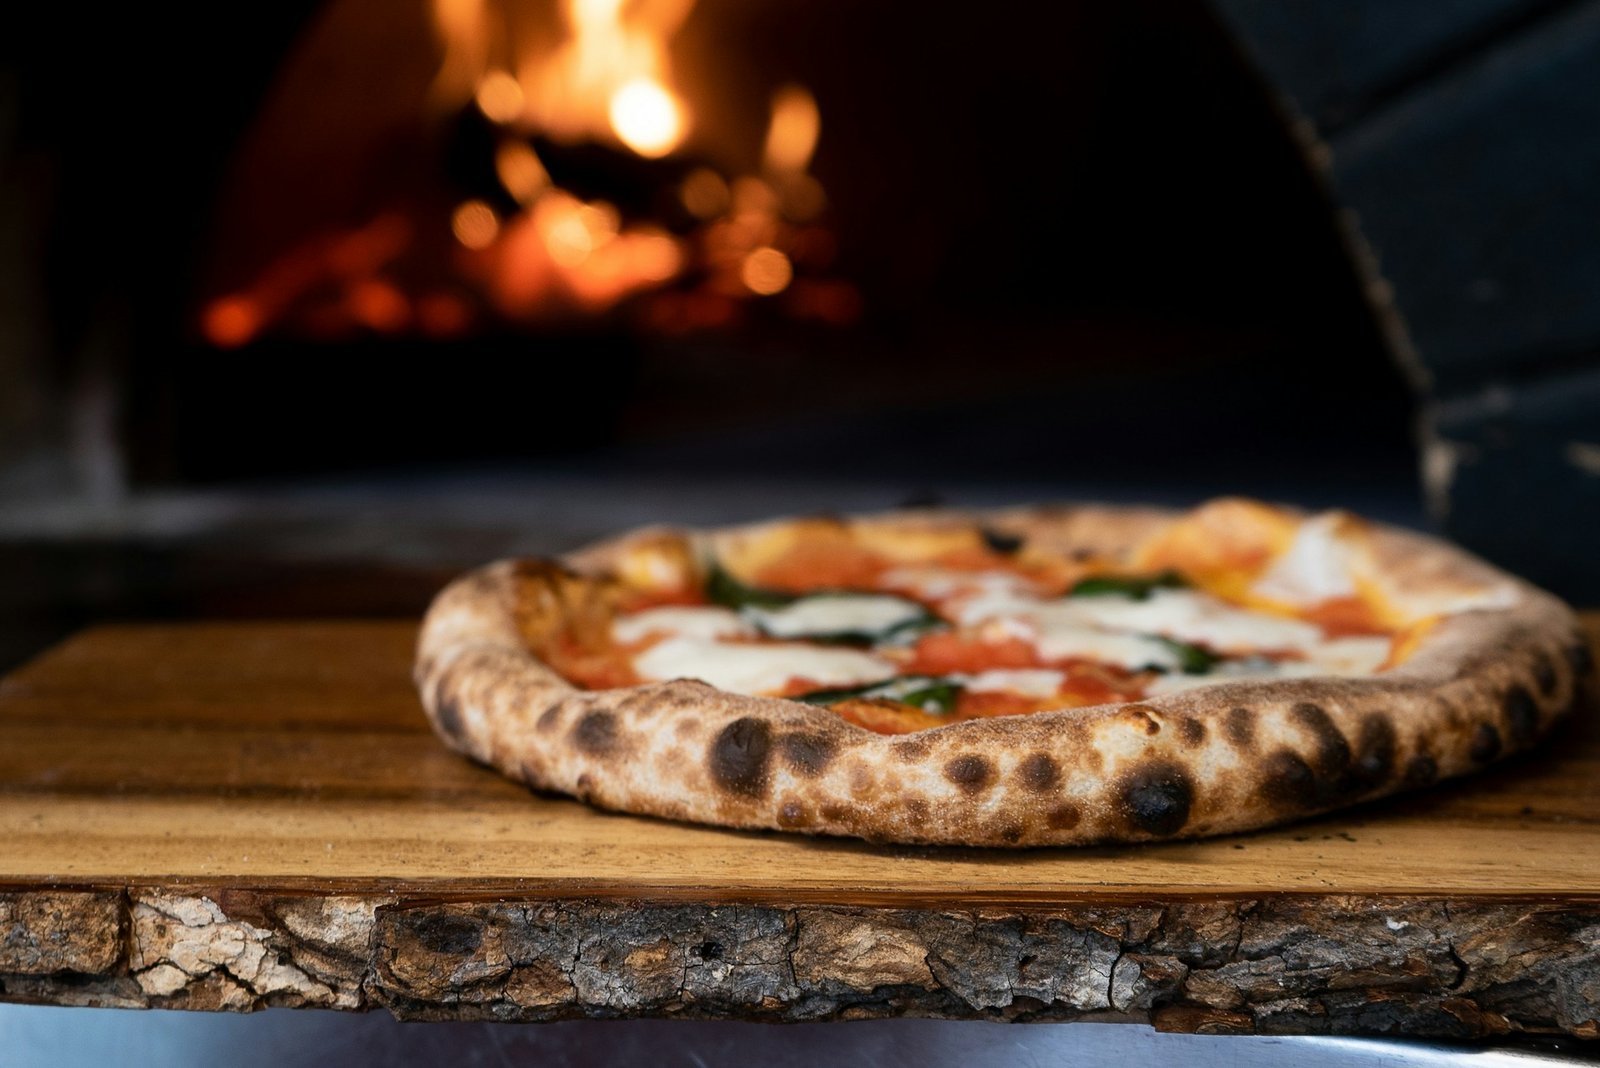
Neapolitan pizza crust is the OG of pizza bases. Soft, chewy, airy, with just enough char to make you feel like you’re sitting in Naples with the faint smell of wood smoke in the air. It’s simple… but not exactly “throw it together in 10 minutes” simple.
This is a love letter to patience — because great dough doesn’t happen in a rush. But don’t worry — I’ll guide you step-by-step so you don’t end up with a sad, lifeless lump of flour.
What Makes Neapolitan Pizza Crust Special?
Before we dive in, let’s clear something up:
Neapolitan pizza crust is all about purity. The traditional rules (yes, there are rules — Italians take pizza very seriously) come from the Associazione Verace Pizza Napoletana (aka the Pizza Police). They say:
- Flour: Use high-protein Italian “00” flour (finely milled, silky smooth, and makes amazing gluten structure).
- Water: Just regular, clean water (no need for fancy bottled stuff unless your tap water tastes like a swimming pool).
- Yeast: Fresh brewer’s yeast traditionally, but dry yeast works fine.
- Salt: Sea salt is preferred — it’s Italy, after all.
- Time: Long fermentation for flavor and texture.
No sugar, no oil in the dough (purists will gasp if you add it). The flavor comes from the flour and fermentation — not a bucket of additives.
Ingredients (Makes 3 Medium Pizzas)
- 500g (about 4 cups) “00” flour — or high-protein bread flour if you can’t find “00.”
- 325ml (about 1⅓ cups) lukewarm water — around 20°C (68°F).
- 2 tsp (10g) salt — fine sea salt.
- 2g (about ½ tsp) dry yeast — or 5g fresh yeast.
- Optional: a sprinkle of extra flour for dusting.
That’s it. Seriously. If you’re adding milk powder or honey, you’re making bakery pizza bread, not Neapolitan.

Step-by-Step: How to Make the Dough
1. Dissolve the yeast
Mix the yeast into the lukewarm water until it dissolves. No foaming frenzy needed — we’re not making bread here, so skip the sugar.
Tip: If your yeast doesn’t dissolve or looks chunky, toss it. Bad yeast = bad crust.
2. Add the flour (slowly)
In a big mixing bowl, add about 90% of the flour. Slowly pour in the yeast-water mixture while stirring with your hand or a spoon. This is where it starts looking like a shaggy, lumpy mess. Totally normal.
3. Add the salt
Never dump salt right on the yeast — it can kill it faster than an Italian grandma’s glare. Dissolve the salt in a little water and add it once the dough starts coming together.
4. Knead it like you mean it
Turn the dough onto a clean surface and knead for 8–10 minutes until it’s smooth and elastic.
If it’s sticking, resist the urge to dump loads of flour — just lightly dust your hands. Too much flour = tough crust.
Pro tip: Push the dough away with the heel of your hand, fold it over, turn it, and repeat. It’s like a mini arm workout.
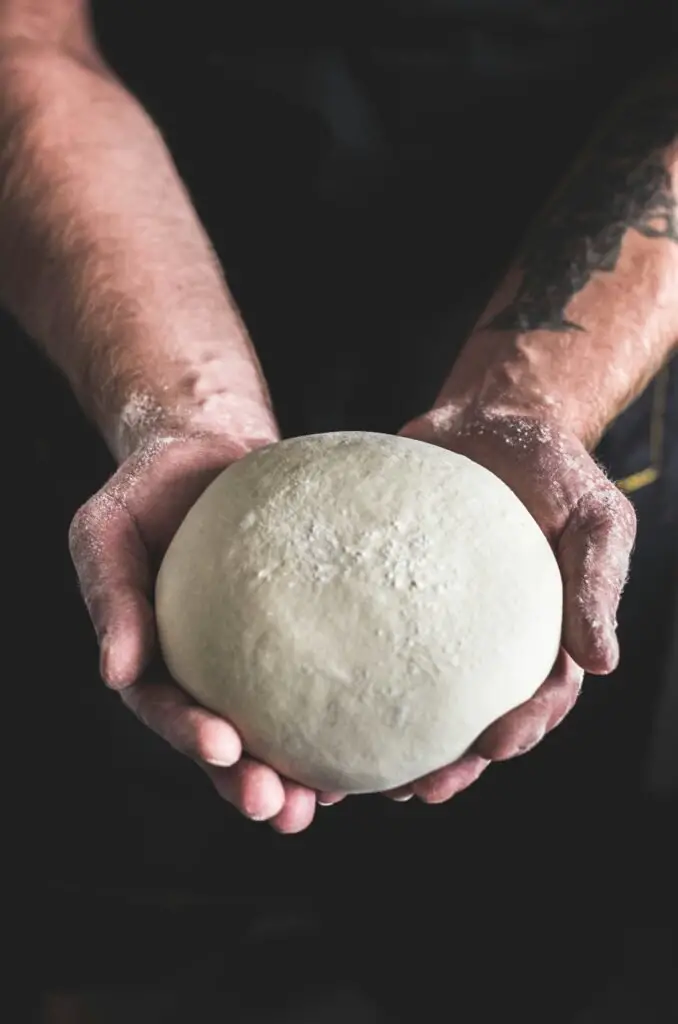
5. First rise (bulk fermentation)
Form the dough into a ball, place it in a lightly floured bowl, and cover with a damp cloth. Let it rest for 2 hours at room temperature. It should double in size.
Step 6: The Magic — Cold Fermentation
Here’s the secret to real flavor: slow fermentation in the fridge.
After the first rise, divide the dough into 3 equal portions, shape into balls, and place each in a lightly floured container or tray. Cover and refrigerate for 24–48 hours.
Why?
- Better flavor — fermentation develops complex, slightly tangy notes.
- Better texture — the gluten relaxes, making it easier to stretch without tearing.
Step 7: Bring It Back to Life
Take the dough out of the fridge about 2 hours before baking so it can warm up. Cold dough + hot oven = uneven cooking.
Step 8: Shaping the Dough
Forget the rolling pin — unless you want to murder all the beautiful air bubbles you just spent 2 days creating.
Instead:
- Flour your work surface and hands.
- Press the dough ball gently from the center outwards, leaving the edges thicker.
- Pick it up and let gravity stretch it as you rotate.
- Stop when it’s about 10–12 inches in diameter.
Step 9: Baking Like a Neapolitan
Traditional Neapolitan pizzas are baked in wood-fired ovens at 450–500°C (850–900°F) for about 60–90 seconds.
Chances are, you don’t have one of those in your kitchen (if you do — invite me over).
At home:
- Use a pizza stone or steel — preheat it in your oven at the highest setting for at least 45 minutes.
- Slide the pizza onto the stone using a pizza peel (or a flat baking sheet if you’re winging it).
- Bake for 5–7 minutes at 250°C (480°F) until the crust is puffed with some char spots.
Pro Pizza Crust Tips
- Hydration matters. This recipe is around 65% hydration (water to flour ratio). Too little water = dense crust.
- Don’t overtop. Authentic pizza crust is the star — don’t drown it in cheese and sauce like it owes you money.
- Work with the dough, not against it. If it keeps springing back, let it rest for a few minutes so the gluten relaxes.
Why This Works
The long fermentation + high-heat bake = the holy grail:
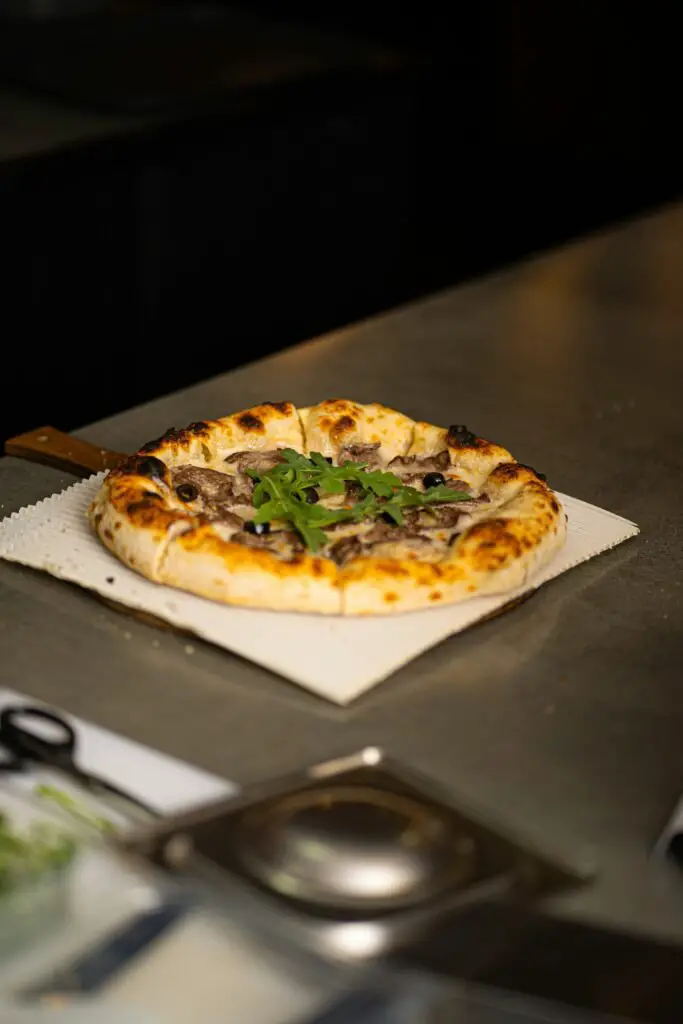
- Puffy edges (cornicione) with light air pockets.
- Soft, tender center that folds without cracking.
- Slight chew that keeps you coming back for more.
Common Mistakes (and How to Avoid Them)
- Using all-purpose flour. It’s fine for cookies, but it won’t give you that chewy bite.
- Rolling pin massacre. Rolling pins squash air bubbles. Don’t do it.
- Skipping the long rise. Sure, you can rush it in 2 hours… if you want mediocre crust.
- Cold oven. Pizza needs heat. More heat. No, even more than that.
FAQ
Q: Can I use instant yeast instead of dry active yeast?
A: Yes — use the same amount, but skip the dissolving step and mix it right into the flour.
Q: Can I freeze the dough?
A: Absolutely. After the cold fermentation, wrap dough balls in plastic wrap and freeze. Thaw overnight in the fridge.
Q: My dough is sticky — should I add more flour?
A: Only lightly dust. Stickiness is normal at higher hydration. Resist the urge to dump extra flour like you’re burying treasure.
Q: Can I make it gluten-free?
A: Technically yes, but Neapolitan pizza without gluten is… another food entirely.
Final Thoughts
Making authentic Neapolitan pizza crust is like dating someone high-maintenance — it requires patience, attention, and respect for tradition. But when you pull that bubbly, char-kissed beauty out of the oven? Totally worth it.
So grab some “00” flour, clear your schedule for a couple of days, and let the dough work its magic. Because nothing — and I mean nothing — beats a fresh, hot, chewy, slightly charred crust topped with just enough sauce and cheese.
And hey — once you nail this, you’ll never look at frozen pizza the same way again. 🙂