Diy Green Tea Toner For Clear Skin
You want clearer skin without dropping half your paycheck on fancy toners? Grab a tea bag. Green tea makes a shockingly effective DIY toner that’s gentle, cheap, and easy to whip up in your kitchen.
Plus, you get to feel like a skincare wizard brewing potions—minus the drama. Let’s make your skin happier, one steep at a time.
Why Green Tea Toner Works (Like, Actually Works)
Green tea isn’t just a cozy drink your aunt swears by. It packs powerhouse antioxidants called catechins—especially EGCG—that help calm inflammation and fend off free radical damage.
Translation: less redness, fewer surprise breakouts, and more glow. It also has mild astringent properties that can help balance oil without turning your face into the Sahara. Oily, combo, and sensitive skin usually get along with green tea toners. If you’ve got dry skin, you’ll still love it—just pair it with a good moisturizer.
The Receipts: Benefits in a Nutshell
- Anti-inflammatory: Calms angry, irritated skin.
- Antioxidant-rich: Helps protect from pollution and UV stress.
- Oil-balancing: Gently tightens pores and reduces shine.
- Soothing: Great post-workout or after sun exposure (not a replacement for sunscreen, FYI).
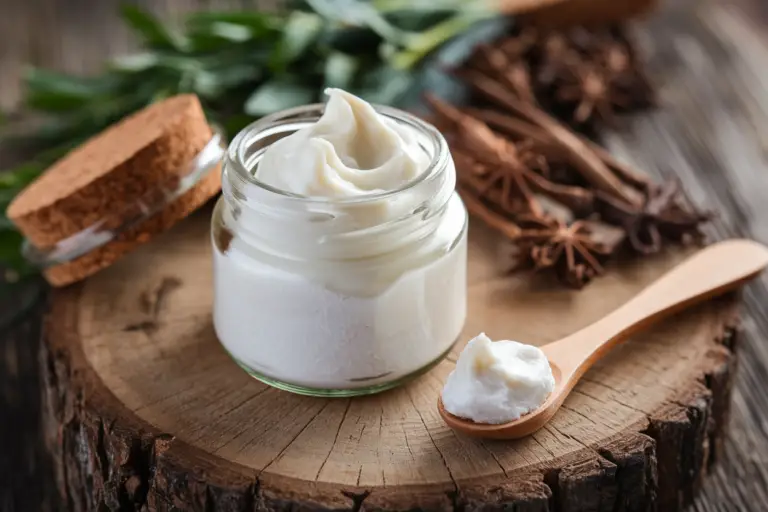
What You’ll Need (No Fancy Lab Coat Required)
You need just a few things to make a clean, effective toner.
If you can make tea, you can do this.
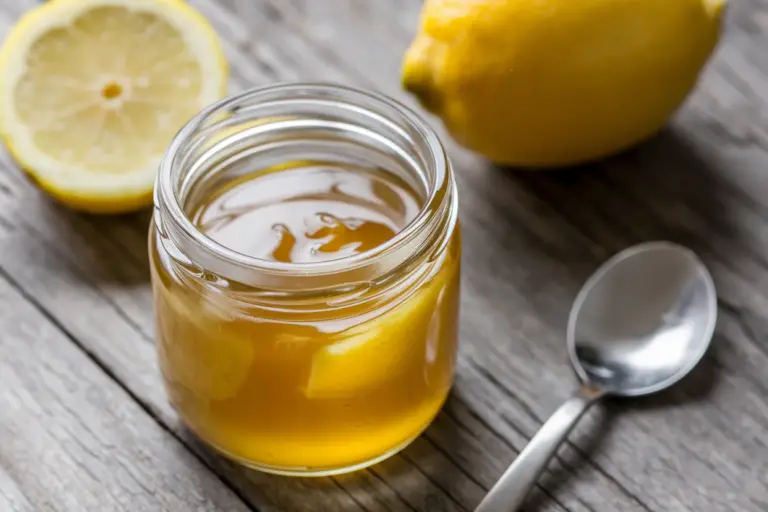
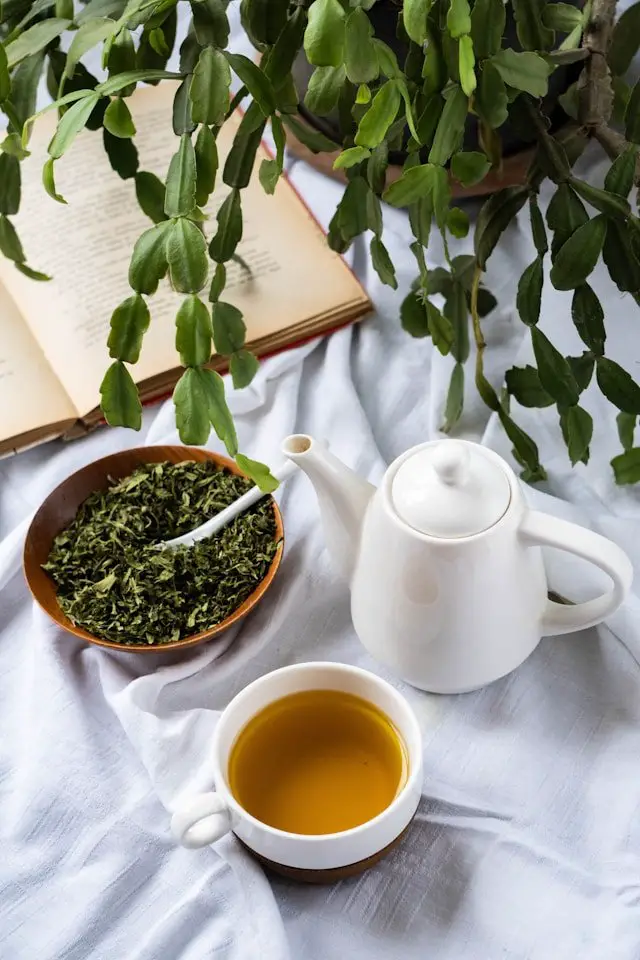
- Green tea: 1 tea bag or 1 teaspoon loose-leaf (choose plain—no flavorings)
- Water: 1 cup filtered or distilled for freshness
- Optional add-ins:
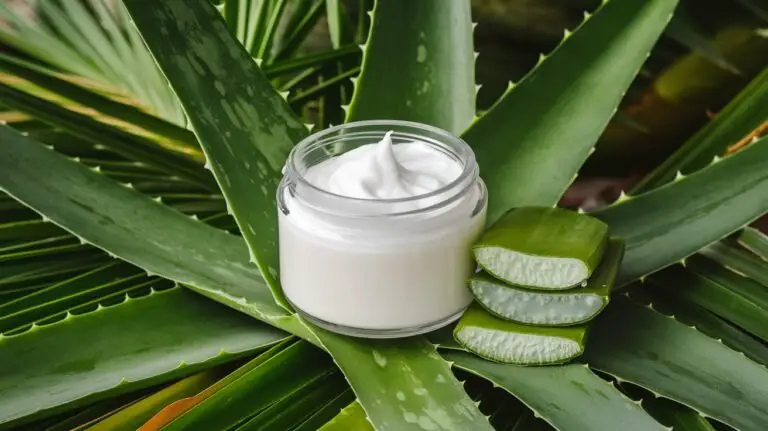
- Aloe vera juice (1-2 tbsp) for extra soothing
- Vegetable glycerin (1 tsp) for light hydration
- Witch hazel alcohol-free (1-2 tbsp) for oil control
- Rose water (1-2 tbsp) for scent and calm
- Vitamin E (1-2 drops) for antioxidant boost
- Storage: Clean glass bottle or spray bottle
- Extras: Funnel, cotton pads (or reusable rounds), and a label so you don’t mistake it for iced tea
How to Make It: Two Fast Methods
You’ve got options. Pick your adventure.
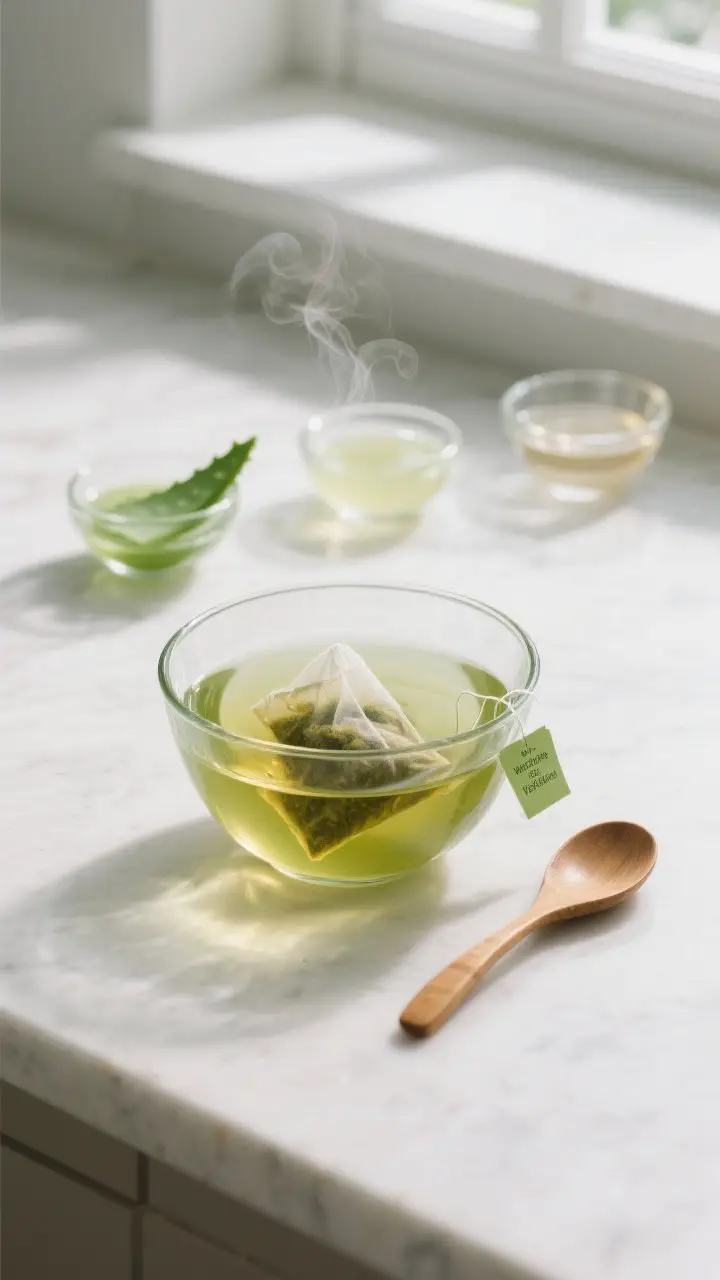
Method 1: Classic Brew (Everyone’s First Love)
- Boil your water, then let it sit for 2-3 minutes. You don’t want scalding hot water for green tea.
- Steep 1 tea bag or 1 tsp loose-leaf for 3-5 minutes. Shorter steep = gentler toner.
- Remove the tea bag or strain the leaves.
Let the tea cool completely.
- Add optional ingredients if using. Stir gently.
- Pour into your clean bottle, cap, and refrigerate.
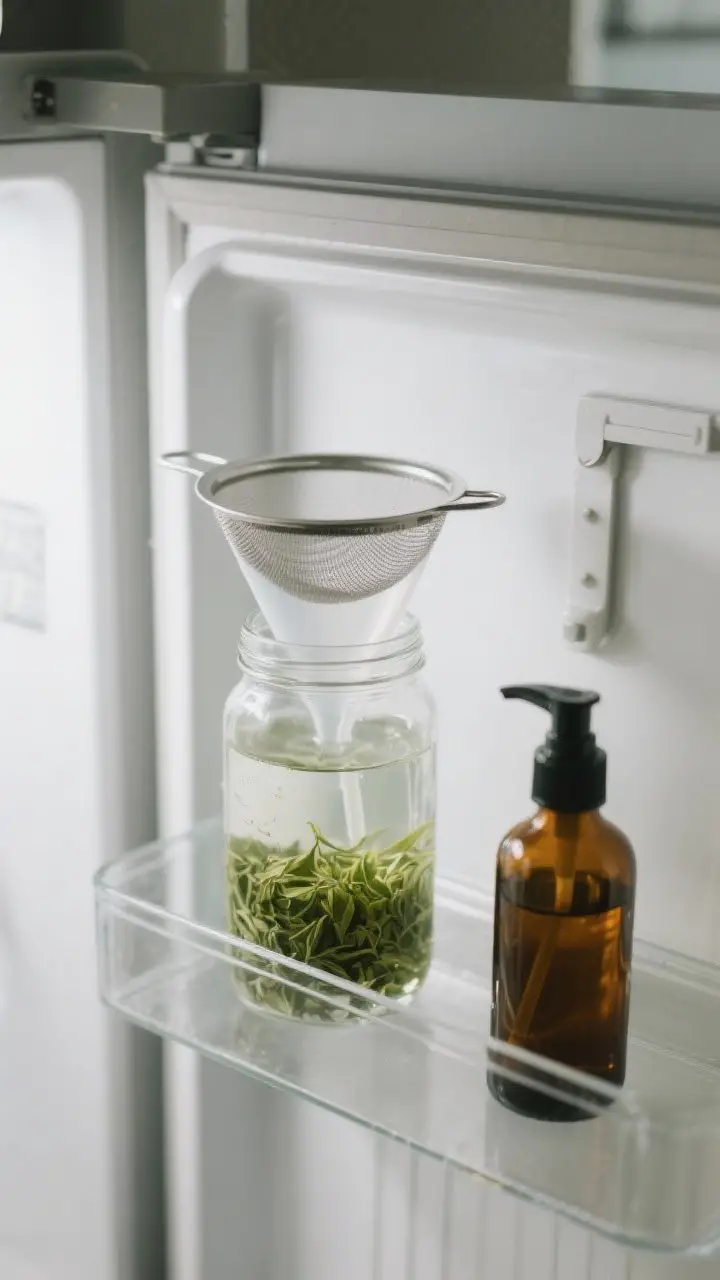
Method 2: Cold Brew (Smooth Operator)
- Add tea to cool filtered water in a jar.
- Let it sit in the fridge for 6-8 hours.
- Strain, add optional extras, and bottle it.
Cold brew tastes better and stays gentler on sensitive skin. IMO, it’s worth the wait.
How to Use It for Maximum Glow
Consistency beats perfection.
Here’s how to make it work for you.
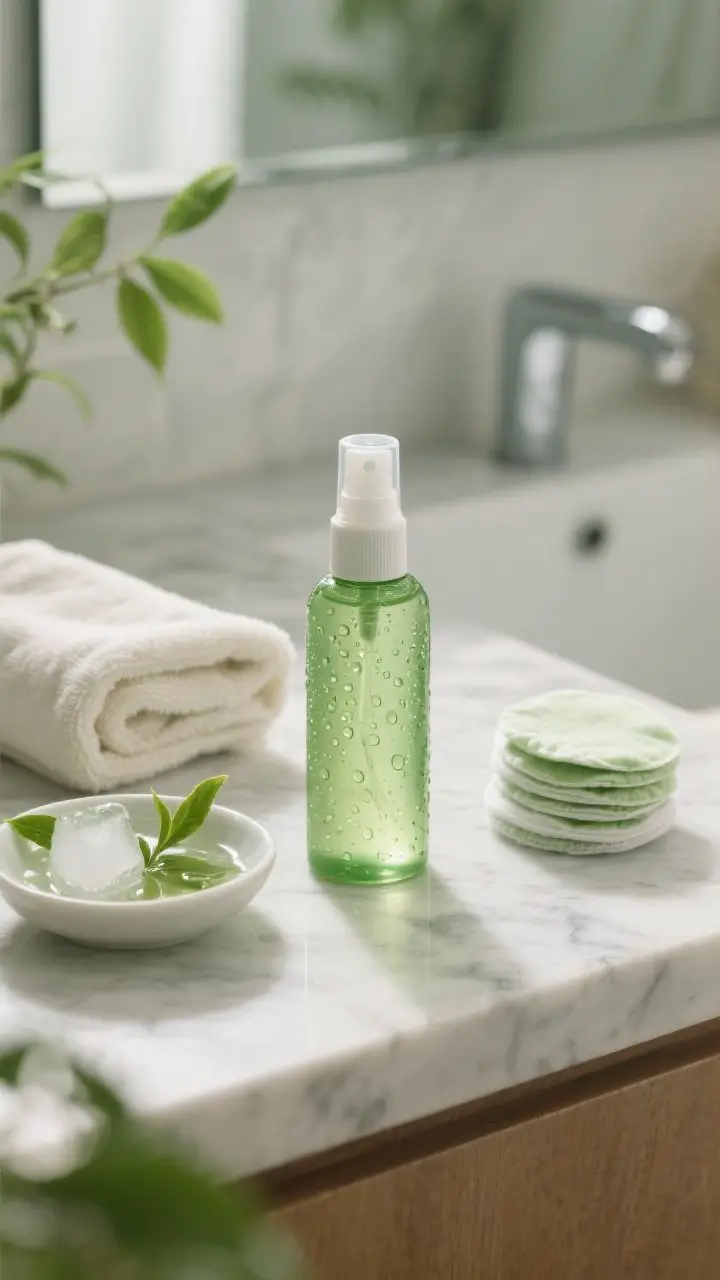
- After cleansing: Apply 1-2 pumps on a cotton round or spritz directly on your face.
- Pat, don’t rub: Let it sink in for 30-60 seconds.
- Follow with serum and moisturizer: Lock in the goodness.
- Use 1-2 times daily: Morning and/or night. If you get dry, stick to nights.
- On-the-go refresh: Decant into a mini spray bottle for a midday pick-me-up.
Pairing It With Actives
- Vitamin C: Use toner first, then C serum. They play nicely together.
- Retinoids: Toner can help calm retinol irritation—win.
- Acids (AHA/BHA): Alternate nights or use toner in the morning and acids at night to avoid over-exfoliation.
Make It Yours: Variations for Different Skin Types
Your face, your rules.
Tweak the base recipe to fit your vibe.
For Oily/Acne-Prone Skin
- Add 1-2 tbsp alcohol-free witch hazel.
- Try 1-2 drops tea tree hydrosol (not essential oil) for a gentle clarifying effect.
- Keep it light—skip glycerin if you get shiny.
For Dry or Dehydrated Skin
- Add 1 tsp vegetable glycerin and 1-2 tbsp aloe juice.
- Layer with a hydrating serum after (hyaluronic acid or panthenol = chef’s kiss).
For Sensitive or Redness-Prone Skin
- Cold brew your tea and keep it simple—just tea + aloe.
- Skip fragrance and essential oils.
- Store chilled; a cool mist calms flushing fast.
Storage, Shelf Life, and Safety (Don’t Skip This Part)
DIY skincare doesn’t have preservatives unless you add them. That means freshness matters.
- Refrigerate always. You’ll get a refreshing feel and slow down microbe growth.
- Use within 7-10 days. Make small batches. If it smells off or looks cloudy, toss it.
- Sanitize your bottle. Rinse with hot soapy water, then a splash of rubbing alcohol, and air dry.
- Patch test. Dab on your jawline for two days before full-face use.
- Skip during active dermatitis or open wounds. Be kind to healing skin.
Level-Up Tips You’ll Actually Use
Let’s squeeze more value from your toner (and your tea bag).
- Chilled compress: Soak cotton pads and rest them on puffy eyes for 5 minutes.
Instant “I slept eight hours” vibes.
- Mask booster: Mix a spoonful with bentonite or kaolin clay for a soothing DIY mask.
- Body breakout spray: Decant into a larger spray bottle for chest/back acne after the shower.
- Sunscreen buddy: Use toner in the morning before SPF for calmer, less shiny skin (still wear sunscreen, FYI).
Common Mistakes to Avoid
We’ve all been there. Save yourself the hassle.
- Over-steeping: Super strong tea can feel harsh and drying.
- Leaving it out: Warm, damp tea equals bacteria’s dream home.
- Overloading add-ins: Keep extras minimal. Too many ingredients = higher irritation risk.
- Expecting instant miracles: Give it 2-4 weeks for visible changes.
Skincare is a slow burn, IMO.
FAQ
Can I use matcha instead of regular green tea?
Yes, but go easy. Whisk 1/8 teaspoon matcha into 1 cup cool water, strain well through a coffee filter, and refrigerate. Matcha runs stronger and can get gritty, so strain like your life depends on it.
Will green tea toner help with acne?
It can help calm inflammation and oil, which supports acne routines.
For breakouts, pair it with proven treatments like benzoyl peroxide or salicylic acid. The toner helps your skin stay balanced and less irritated.
How often should I use it?
Start once a day and work up to twice if your skin vibes with it. If you feel tightness or dryness, dial back or add hydration.
Listen to your face—it talks.
Can I add essential oils?
I wouldn’t. Essential oils in water-based toners tend to irritate and don’t disperse properly without a solubilizer. If you want scent, use a gentle hydrosol like rose or chamomile instead.
Do I need a preservative?
For short-term batches used in a week, refrigeration works.
If you want room temp storage or longer shelf life, you’ll need a broad-spectrum preservative and proper formulation. For most DIYers, fresh weekly batches keep things simple and safe.
What if I’m allergic to green tea?
Skip it and try alternatives like chamomile or rooibos. Always patch test any new toner behind the ear or along the jawline first.
Wrap-Up: Sip It, Spritz It, Love It
A DIY green tea toner gives you a gentle, budget-friendly boost that fits almost any routine.
It calms, de-shines, and adds a little antioxidant armor without the drama. Brew a small batch, keep it chilled, and let your skin soak up the zen. Your face will say thanks—even if it does so quietly.