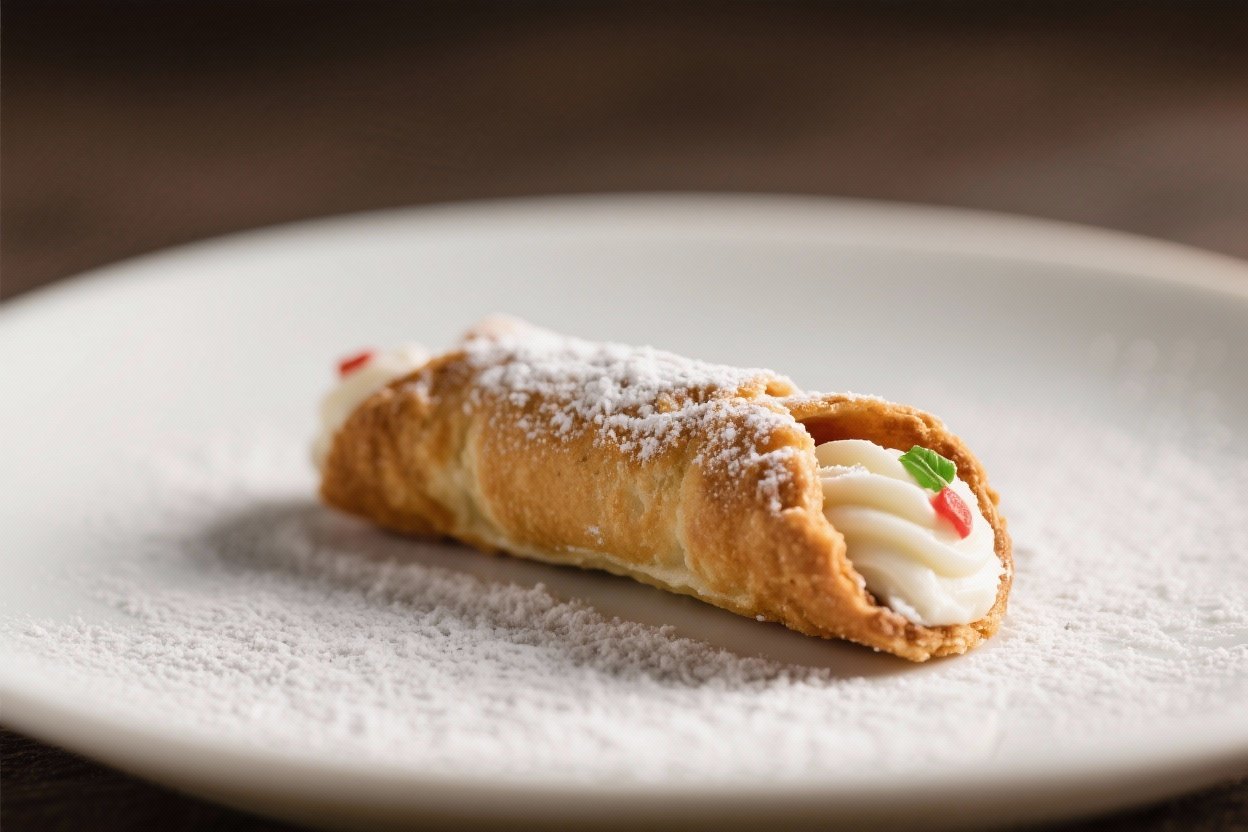
Nonna’s Homemade Cannoli – A Crispy Shell With Creamy Sweet Ricotta
There’s something special about a plate of cannoli on the table—crisp shells, creamy filling, and a dusting of sugar that feels like a little celebration. This version comes from the kind of wisdom you learn by watching a grandmother cook: patient hands, simple ingredients, and a few small tricks. You’ll make the shells from scratch, and the filling is classic ricotta with a hint of citrus and vanilla.
It’s not complicated, just precise—and that’s where the magic is. Whether you’re making them for a holiday or a Sunday treat, these cannoli taste like home.
Nonna’s Homemade Cannoli - A Crispy Shell With Creamy Sweet Ricotta
Ingredients
Method
- Drain the ricotta: Line a sieve with cheesecloth or paper towels and set it over a bowl. Add ricotta and refrigerate at least 2 hours (overnight is best) to remove excess moisture.This is key for a thick, non-runny filling.
- Make the dough: In a mixing bowl, whisk flour, sugar, salt, and cinnamon. Cut in the cold butter with your fingers until it looks like coarse crumbs.
- Add wet ingredients: Beat the egg with wine and vinegar. Pour into the flour mixture and stir until a shaggy dough forms.If dry, add a teaspoon of wine at a time until it comes together.
- Knead and rest: Turn the dough onto a lightly floured surface and knead 5–7 minutes until smooth and elastic. Wrap and rest 30–45 minutes at room temperature. Resting relaxes the gluten so the dough rolls thin.
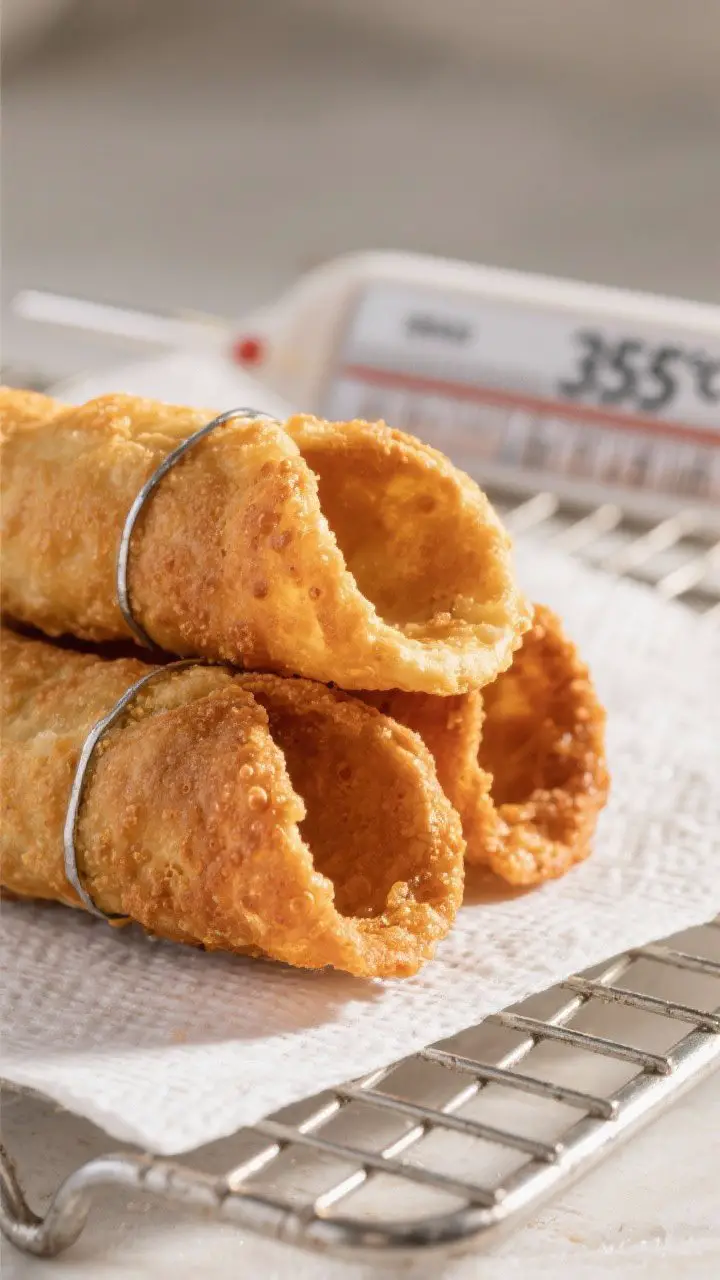
- Heat the oil: In a wide pot, heat 2 inches of oil to 350–360°F (175–182°C).Keep a steady temperature for even blistering and crispness.
- Roll the dough: Divide the dough into two pieces. Roll one piece very thin—about 1/16 inch. Cut circles 4 inches wide, or ovals about 4 x 5 inches.
- Wrap the shells: Place each round over a cannoli tube.Brush one edge with egg white, overlap edges, and press to seal firmly. Don’t seal too deep onto the tube or they’ll stick.
- Fry in batches: Fry 2–3 shells at a time for 1–2 minutes until deep golden with bubbles. Adjust heat to keep the oil within range.Transfer to a rack and cool 1–2 minutes, then gently slide off molds using tongs. Repeat.
- Make the filling: In a bowl, combine drained ricotta, powdered sugar, vanilla, and zest. Mix until smooth.Fold in chocolate chips if using. If too stiff, add a spoonful of cream at a time. Taste and adjust sweetness.
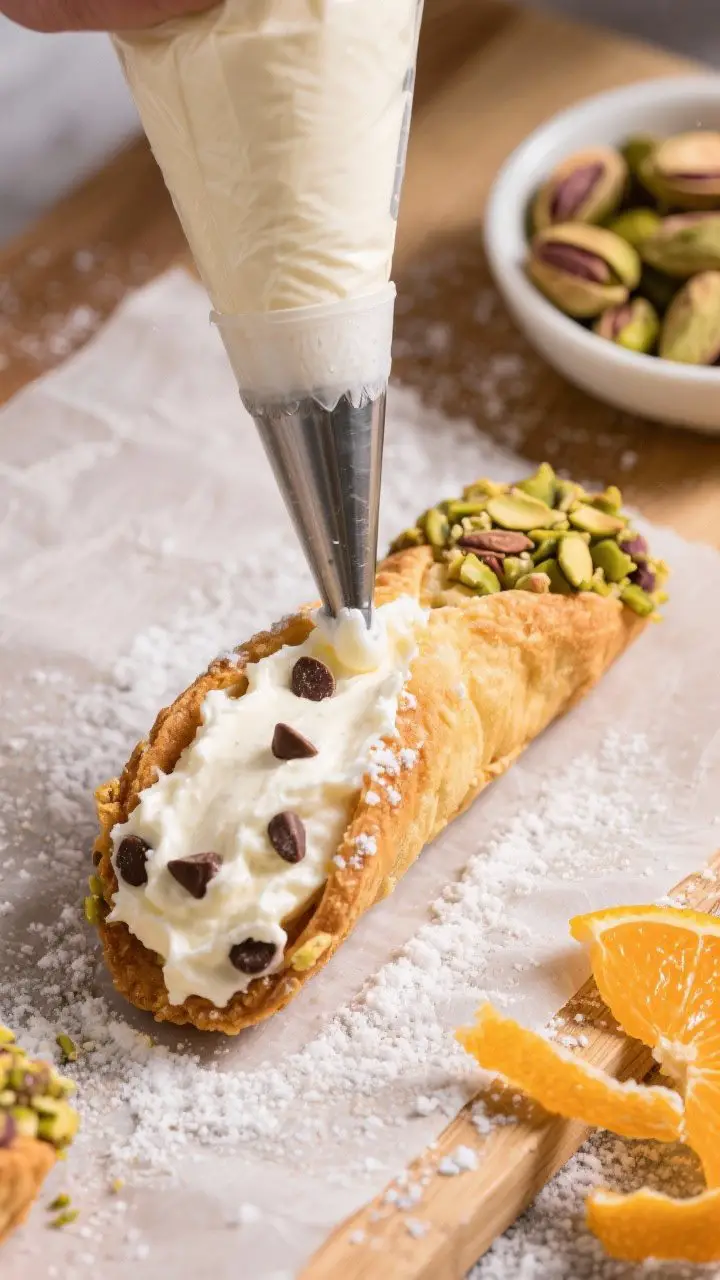
- Fill just before serving: Spoon the filling into a piping bag.Pipe from the center to one end, turn, and fill the other side. Dip ends in pistachios, chocolate, or candied peel. Dust with powdered sugar.
Why This Recipe Works
Balanced texture: The shells are thin, blistered, and shatter-crisp, thanks to a touch of vinegar and wine in the dough. The filling stays smooth and lush because the ricotta is drained well.
Clean, classic flavor: Orange zest and vanilla bring warmth without overpowering the ricotta.
A hint of cinnamon in the dough gives the shells depth.
Make-ahead friendly: Shells and filling keep separately, so you can fill them just before serving for the perfect crunch. This also makes entertaining easier.
What You’ll Need
- For the shells:
- 2 cups (250 g) all-purpose flour
- 2 tablespoons granulated sugar
- 1/2 teaspoon kosher salt
- 1/2 teaspoon ground cinnamon (optional but traditional)
- 3 tablespoons cold unsalted butter, cut into small cubes
- 1 large egg
- 1/2 cup dry white wine (or Marsala), plus 1–2 tablespoons more if needed
- 1 teaspoon white vinegar
- Neutral oil for frying (canola, vegetable, or peanut oil)
- 1 egg white, lightly beaten (for sealing)
- For the filling:
- 2 cups (475 g) whole-milk ricotta, well drained
- 3/4 cup (90 g) powdered sugar, sifted (plus more to taste)
- 1 teaspoon pure vanilla extract
- Zest of 1 orange (or lemon)
- 1/2 cup mini chocolate chips or finely chopped dark chocolate (optional)
- 2–3 tablespoons heavy cream, as needed for texture
- For finishing:
- Powdered sugar for dusting
- Chopped pistachios, candied orange peel, or extra chocolate chips for the ends
- Equipment:
- Cannoli tubes (metal molds)
- Rolling pin
- Thermometer (clip-on or instant-read)
- Piping bag or zip-top bag
- Paper towels and a wire rack
How to Make It
- Drain the ricotta: Line a sieve with cheesecloth or paper towels and set it over a bowl. Add ricotta and refrigerate at least 2 hours (overnight is best) to remove excess moisture.
This is key for a thick, non-runny filling.
- Make the dough: In a mixing bowl, whisk flour, sugar, salt, and cinnamon. Cut in the cold butter with your fingers until it looks like coarse crumbs.
- Add wet ingredients: Beat the egg with wine and vinegar. Pour into the flour mixture and stir until a shaggy dough forms.
If dry, add a teaspoon of wine at a time until it comes together.
- Knead and rest: Turn the dough onto a lightly floured surface and knead 5–7 minutes until smooth and elastic. Wrap and rest 30–45 minutes at room temperature. Resting relaxes the gluten so the dough rolls thin.
- Heat the oil: In a wide pot, heat 2 inches of oil to 350–360°F (175–182°C).
Keep a steady temperature for even blistering and crispness.
- Roll the dough: Divide the dough into two pieces. Roll one piece very thin—about 1/16 inch. Cut circles 4 inches wide, or ovals about 4 x 5 inches.
- Wrap the shells: Place each round over a cannoli tube.
Brush one edge with egg white, overlap edges, and press to seal firmly. Don’t seal too deep onto the tube or they’ll stick.
- Fry in batches: Fry 2–3 shells at a time for 1–2 minutes until deep golden with bubbles. Adjust heat to keep the oil within range.
Transfer to a rack and cool 1–2 minutes, then gently slide off molds using tongs. Repeat.
- Make the filling: In a bowl, combine drained ricotta, powdered sugar, vanilla, and zest. Mix until smooth.
Fold in chocolate chips if using. If too stiff, add a spoonful of cream at a time. Taste and adjust sweetness.
- Fill just before serving: Spoon the filling into a piping bag.
Pipe from the center to one end, turn, and fill the other side. Dip ends in pistachios, chocolate, or candied peel. Dust with powdered sugar.
How to Store
Unfilled shells keep crisp for 3–5 days in an airtight container at room temperature.
Add a paper towel to absorb any moisture.
Filling keeps 3 days in the fridge in a sealed container. Stir before using. Do not freeze ricotta filling; it can turn grainy.
Filled cannoli are best within a few hours.
If you must hold them, refrigerate up to 6 hours uncovered on a tray. They will soften slightly but still taste great.

Health Benefits
Cannoli are a treat, but there are a few smart choices here. Ricotta, especially whole-milk ricotta, offers protein and calcium with a naturally creamy texture that doesn’t require heavy amounts of sugar. A small portion satisfies.
Dark chocolate adds antioxidants and depth.
Using neutral oil at the right temperature means faster frying and less oil absorption, keeping the shells lighter than you might expect.
For a lighter touch, you can reduce sugar slightly in the filling and rely on citrus zest for brightness.
Common Mistakes to Avoid
- Skipping the ricotta drain: Undrained ricotta leads to soupy filling and soggy shells.
- Oil too cool or too hot: Below 340°F, shells absorb oil and turn greasy. Above 365°F, they brown too fast and stay raw inside.
- Thick dough: If the dough isn’t rolled thin, you won’t get those delicate, blistered shells.
- Overfilling ahead of time: The shells soften quickly. Fill close to serving.
- Poor seal on shells: If the seam isn’t secured with egg white, shells can open while frying.
Variations You Can Try
- Classic Sicilian touch: Swap half the chocolate chips for finely chopped candied orange peel and a pinch of cinnamon in the filling.
- Pistachio dream: Fold crushed pistachios into the filling and roll the ends in more pistachios.
- Lemon-ricotta: Use lemon zest and a splash of Limoncello in the filling for a bright twist.
- Mini cannoli: Use smaller molds for bite-size treats—ideal for parties and easier portion control.
- Chocolate-dipped shells: Brush the inside of cooled shells with melted dark chocolate and let set.
This adds flavor and helps keep shells crisp longer.
- Gluten-free option: Use a 1:1 gluten-free flour blend and add an extra tablespoon of wine if the dough feels dry. Roll gently and fry slightly longer.
FAQ
Can I bake the shells instead of frying?
You can bake them at 400°F (205°C) for 10–12 minutes, but they won’t get as blistered or crisp. If baking, brush lightly with egg wash for color.
The fried version is traditional and gives the best texture.
What if I don’t have cannoli tubes?
Wrap dough around cleaned, well-oiled metal dowels or form foil tubes around a wooden spoon handle. They need to be sturdy enough to hold shape in hot oil.
Why is my filling grainy?
Overmixing ricotta or using ricotta with too much moisture can cause graininess. Drain well and fold gently.
Using powdered sugar instead of granulated also keeps the filling smooth.
How do I keep shells from sticking to the molds?
Don’t press the seam tightly against the mold. Lightly oil the tubes and slide shells off after a minute of cooling while they’re still slightly warm.
Can I make the dough in advance?
Yes. Wrap and refrigerate up to 24 hours.
Let it come to room temperature before rolling, and knead briefly to restore flexibility.
How sweet should the filling be?
Start with the suggested amount of powdered sugar and taste. Cannoli should be gently sweet, not cloying. You can always add a tablespoon more sugar if needed.
What’s the best oil for frying cannoli?
Use a neutral, high-heat oil like peanut, canola, or vegetable oil.
Keep it clean and strain after use if you plan to reuse it within a week.
Final Thoughts
Nonna’s Homemade Cannoli is all about small, mindful steps: drain the ricotta, roll the dough thin, and fill at the last minute. The result is a crisp shell and a creamy, citrus-scented center that tastes both elegant and comforting. Once you make them a couple of times, the process becomes second nature.
Serve them proudly, and watch them disappear—with plenty of powdered sugar smiles to prove it.