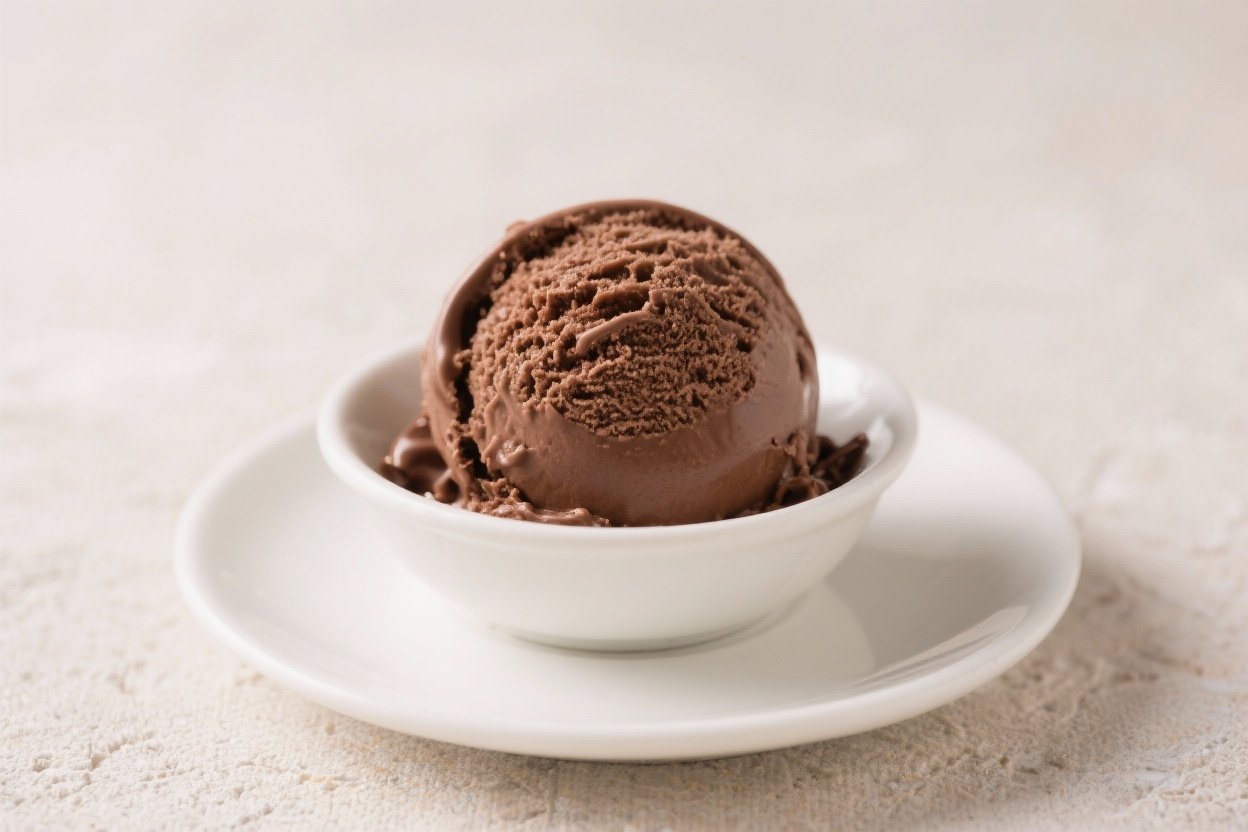
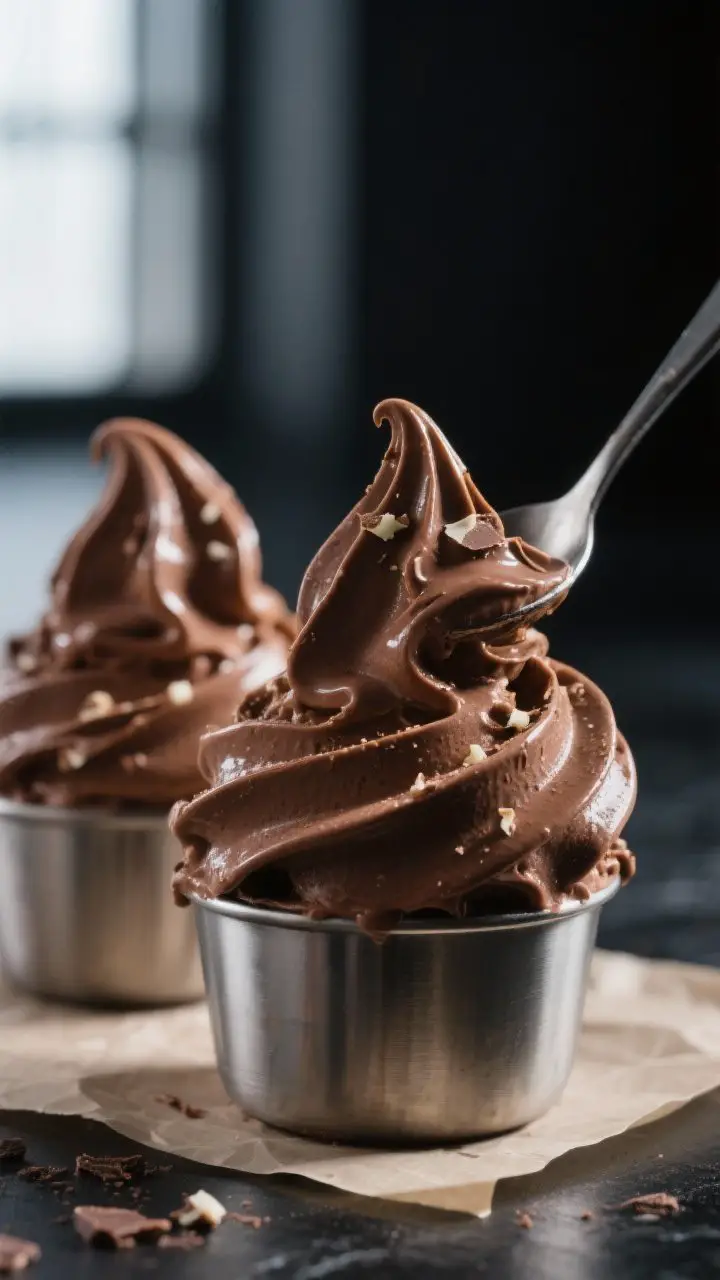
Gelato al Cioccolato (Italian Chocolate Gelato) – Rich, Silky, and Classic
Italian chocolate gelato is all about quiet luxury: deep cocoa flavor, a silky mouthfeel, and a clean finish that keeps you going back for one more spoonful. It’s richer than ice cream but not as heavy, and it melts in a way that feels almost elegant. Good gelato doesn’t scream; it whispers chocolate.
This version uses a few smart techniques to keep it smooth and scoopable at home. If you’ve ever wanted a café-quality gelato without fancy equipment, this is your blueprint.
Gelato al Cioccolato (Italian Chocolate Gelato) - Rich, Silky, and Classic
Ingredients
Method
- Prep your tools. Freeze your ice cream maker bowl for at least 24 hours if required by your machine.Have a fine-mesh strainer and a large bowl ready. Chill a lidded freezer-safe container.
- Mix the dry ingredients. In a small bowl, whisk the sugar, cornstarch, cocoa powder, and salt until no lumps remain. This prevents clumping later.
- Warm the dairy. In a medium saucepan, add the milk, cream, and corn syrup (or honey).Heat over medium until steaming and small bubbles form at the edges—do not boil.
- Whisk in the dry mix. While whisking, slowly sprinkle in the sugar-cocoa mixture. Continue whisking over medium heat until the mixture thickens slightly, about 3–5 minutes. You’re aiming for a light, pourable custard that coats the back of a spoon.
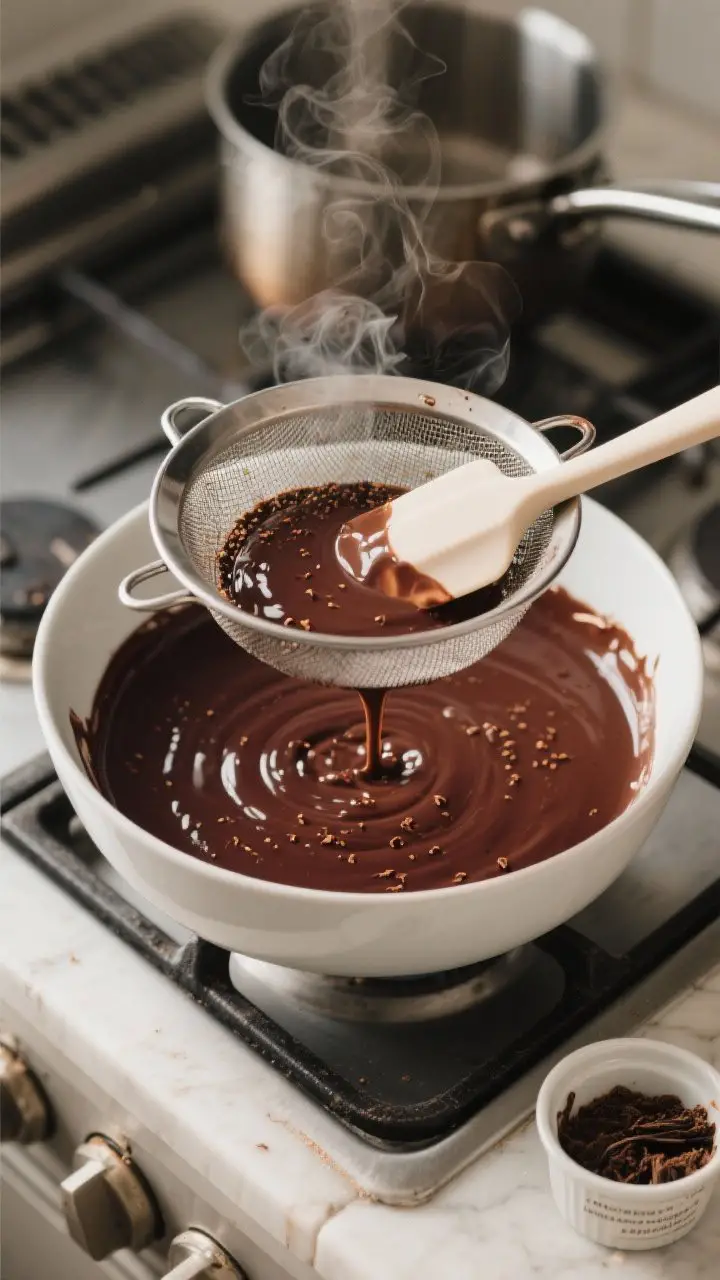
- Melt the chocolate. Remove the pan from heat and add the chopped dark chocolate.Let sit for 1 minute, then whisk until completely smooth and glossy. Stir in the vanilla (and espresso powder, if using).
- Strain and chill. Pour the base through a fine-mesh strainer into a clean bowl to remove any tiny lumps. Press plastic wrap directly onto the surface to prevent a skin.Chill until fully cold, at least 4 hours, but overnight is best.
- Churn. Stir the chilled base, then churn according to your machine’s instructions, typically 20–25 minutes, until it reaches a soft-serve consistency.
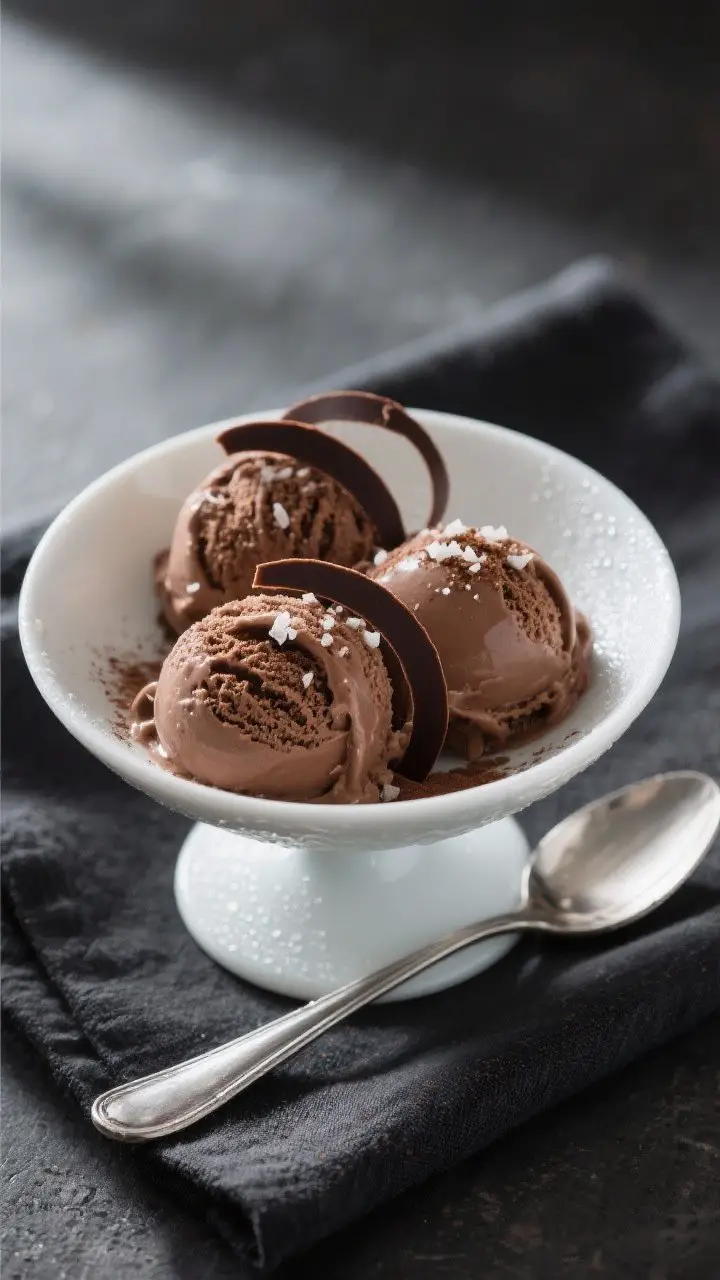
- Cure in the freezer. Transfer to your cold container, press parchment or plastic wrap onto the surface, cover, and freeze 2–4 hours to set. Scoop and serve.
Why This Recipe Works
Balanced fats from whole milk and a little cream mimic the classic gelato ratio, which is lower in fat than ice cream but still lush. This keeps the chocolate front and center.
A cornstarch-thickened base (instead of a heavy egg custard) creates a delicate, velvety texture that doesn’t dull the cocoa.
Two forms of chocolate—unsweetened cocoa powder and dark chocolate—build depth and a clean, lasting finish. A touch of corn syrup or honey helps prevent iciness, improving scoopability. Chilling the base overnight means the flavors marry and the texture firms up properly in the churn.
Shopping List
- Whole milk (3 cups / 720 ml)
- Heavy cream (1 cup / 240 ml)
- Granulated sugar (3/4 cup / 150 g)
- Light corn syrup or honey (2 tablespoons) for smooth texture
- Cornstarch (2 tablespoons) for gentle thickening
- Unsweetened cocoa powder (1/2 cup / 50 g), Dutch-process preferred
- Dark chocolate (4 oz / 115 g), 60–70%, finely chopped
- Vanilla extract (1 teaspoon)
- Fine sea salt (1/4 teaspoon)
- Optional: Espresso powder (1/2 teaspoon) to boost chocolate flavor
How to Make It
- Prep your tools. Freeze your ice cream maker bowl for at least 24 hours if required by your machine.
Have a fine-mesh strainer and a large bowl ready. Chill a lidded freezer-safe container.
- Mix the dry ingredients. In a small bowl, whisk the sugar, cornstarch, cocoa powder, and salt until no lumps remain. This prevents clumping later.
- Warm the dairy. In a medium saucepan, add the milk, cream, and corn syrup (or honey).
Heat over medium until steaming and small bubbles form at the edges—do not boil.
- Whisk in the dry mix. While whisking, slowly sprinkle in the sugar-cocoa mixture. Continue whisking over medium heat until the mixture thickens slightly, about 3–5 minutes. You’re aiming for a light, pourable custard that coats the back of a spoon.
- Melt the chocolate. Remove the pan from heat and add the chopped dark chocolate.
Let sit for 1 minute, then whisk until completely smooth and glossy. Stir in the vanilla (and espresso powder, if using).
- Strain and chill. Pour the base through a fine-mesh strainer into a clean bowl to remove any tiny lumps. Press plastic wrap directly onto the surface to prevent a skin.
Chill until fully cold, at least 4 hours, but overnight is best.
- Churn. Stir the chilled base, then churn according to your machine’s instructions, typically 20–25 minutes, until it reaches a soft-serve consistency.
- Cure in the freezer. Transfer to your cold container, press parchment or plastic wrap onto the surface, cover, and freeze 2–4 hours to set. Scoop and serve.
How to Store
Keep the gelato in a shallow, airtight container to minimize ice crystals. Press parchment or plastic wrap directly onto the surface before sealing with a lid.
Store in the coldest part of your freezer, not the door. For best texture and flavor, enjoy within 5–7 days.
Before serving, let the container sit at room temperature for 5 minutes to soften slightly. Gelato should scoop softly, not crack like hard ice cream.
Why This is Good for You
Cocoa is rich in polyphenols, which offer antioxidant benefits.
Dark chocolate (60–70%) brings a bit of iron and magnesium, along with satisfying flavor that helps smaller portions feel indulgent. Compared to many ice creams, classic gelato uses less fat, which lets chocolate shine while keeping the texture creamy.
Making it at home also means clear ingredients: no artificial flavors, stabilizers, or excess sweetness. You control the sugar level and can choose quality chocolate for a cleaner, more pronounced cocoa taste.
Pitfalls to Watch Out For
- Skipping the chill time: Churning a warm base leads to icy, thin gelato.
The base must be fully cold.
- Boiling the dairy: Boiling can split the mixture or create graininess. Keep it at a gentle steam.
- Under-emulsifying the chocolate: Add chopped chocolate off heat and whisk until glossy. Any unmelted bits can feel chalky.
- Wrong cocoa: Natural cocoa is more acidic and can taste sharp. Dutch-process yields a smoother, deeper flavor.
- Over-churning: Once it hits soft-serve consistency, stop.
Over-churning can make it dense and buttery.
Recipe Variations
- Extra-Dark Gelato: Use 70–75% chocolate and bump cocoa to 2/3 cup, adding 1–2 tablespoons more sugar to balance.
- Mocha Gelato: Dissolve 1 tablespoon instant espresso in the warm dairy and swirl in a shot of cooled espresso after churning.
- Stracciatella Chocolate: During the last minute of churning, stream in 2 ounces melted dark chocolate to form delicate shards.
- Orange-Chocolate: Add the zest of 1 orange to the milk as it warms, then strain before chilling. A splash of orange liqueur (1 tablespoon) boosts aroma and improves softness.
- Hazelnut Twist: Swirl in 2–3 tablespoons gianduja or smooth hazelnut spread at the end of churning.
- Dairy-Free Option: Use full-fat coconut milk (2 cans) in place of milk and cream, and add 1 tablespoon neutral oil to mimic dairy fat. Expect a coconut note.
- No-Machine Method: Chill the base thoroughly.
Pour into a shallow pan, freeze 30 minutes, then whisk vigorously. Repeat every 30 minutes for 3–4 hours until smooth. Finish with a hand blender for extra silkiness.
FAQ
Can I use milk chocolate instead of dark?
Yes, but reduce the sugar by about 2 tablespoons to avoid an overly sweet result.
Milk chocolate will give a softer, creamier profile with less cocoa punch.
What if I don’t have cornstarch?
Use 1 tablespoon tapioca starch or 2 tablespoons all-purpose flour. With flour, cook an extra minute to remove any raw taste and strain well.
How do I prevent ice crystals?
Chill the base fully, use corn syrup or honey, and store with a barrier pressed onto the surface. Quick freezing after churning and keeping the container tightly sealed make a big difference.
Can I cut the sugar?
You can reduce it by up to 2 tablespoons, but sugar affects texture and softness.
If you go lower, expect a firmer, slightly icier gelato. A small splash of liqueur can help keep it scoopable.
Is Dutch-process cocoa required?
It’s not required, but it gives a smoother, rounder chocolate flavor and a darker color. Natural cocoa will work, just expect a brighter, slightly more acidic chocolate note.
How long should I churn?
Most machines take about 20–25 minutes.
Look for a soft-serve texture that mounds gently. If it starts to ride above the dasher and look dense, stop churning and get it into the freezer.
Can I add mix-ins?
Yes—fold in chopped chocolate, candied orange peel, or toasted nuts right after churning. Keep pieces small so they don’t interfere with the gelato’s smoothness.
Why strain the base?
Straining removes any undissolved cocoa or cooked bits, ensuring a silky finish.
It’s a small step that delivers a noticeably smoother gelato.
Final Thoughts
Gelato al cioccolato is proof that simple ingredients, handled with care, can taste extraordinary. With balanced dairy, two types of chocolate, and a patient chill, you’ll get that signature Italian-style silk at home. Keep the process gentle, let the flavors rest, and your gelato will reward you with clean, deep chocolate in every spoonful.
It’s classic, comforting, and just a little bit luxurious—exactly how chocolate gelato should be.